

Mummy was held up, nevertheless this makeup tutorial is not only for Onam. This look will be great for the Indian festivities lined up ahead of us, leading up to Deepavali and till the end of 2016!!
I had the pleasure of collaborating with a Beauty YouTuber from Kerala, India for this video. This project has a special place in my heart and I hope you like it.
To save us time, I've prepped my face with the base works and have listed the complete makeup products below!!
On the face:
- Benefit's the POREfessional PRO Balm
- Revlon Colorstay Foundation (340 Early Tan)
- L.A.Girl Pro.Conceal HD.High-Definition Concealer (Pure Beige)
- Dark Diva Dolls Dual Powder (C45 Warm Yellow)
- Australis AC ON TOUR Contouring & Highlighting Kit
- Essence Silky Touch Blush (40 Natural Beauty)
On the eyes:
- UD Eyeshadow Primer Potion (Eden)
- Dark Diva Dolls Dual Powder (C45 Warm Yellow)
ABH Modern Renaissance Palette
- Tempera
- Burnt Orange
- Raw Sienna
- Realgar
- Red Ochre
- Cyprus Umber
- Primavera
- NYX Jumbo Eye Pencil (White)
- NYX Wonder Pencil (Light)
- Maybelline New York Hypersharp Liner (Black)
- Rhomlon Glitter Glue (Gold)
- Jordana Volume Extreme Volumizing Mascara (Black)
- Maybelline New York the falsies Push Up Drama (Black)
Lips
EYES


A makeup primer is a great start for the eyes as a base, ensuring the shadows stay true to color and is set to stay put. I've set the eye primer down with a pressed face powder.


Now, for the show stopper!! I have been loving, love love love the ABH Modern Renaissance Palette, beautiful pigmented shades with its gorgeous warm and red undertones.
On a fluffy blending brush, I swept some "Golden Ochre" from lash line to the brow bone to kick start the transition shading.


With another pointy brush, I picked up the shade "Realgar" on to the tip of the brush and placed the color tighter on the lower socket area.


With the same brush, "Red Ochre" was placed on to a even more tiny area of the eyelid. This helps to open up my eye shape and provide more dimension. I feel this color placement helps to keep my eyes from looking flat.


I picked up a little of the shade, "Cyprus Umber" on to a pencil brush on it's pointy end to further define and deepen the outer "V" of the eyes.
I smudged the same shade onto the outer third of my lash line and brought the color down to the lower lash line.


Whatever was left on the brush, I lightly swept the color across onto the inner corner of my eye socket.


The mobile lid was kept empty for this part, I lined the empty lid space with my NYX Jumbo Eye Pencil in White and blend the color evenly.


On a stiff short bristled brush, I picked up the shade "Primavera" and pressed the color down onto the eyelid. This way, the finish had a better color pay-off.


I used Rhomlon glitter glue that had an eye liner brush tip, in gold to deposit the gold glitter on to the middle of my eyelid. This placement would catch the light in different angles and will look very pretty and festive!!
The glitter used was rather chunky and gritty, I would not recommend if you have any sensitivity around your eyes. Research for safe options if you'd like to experiment:)


Moving on, for my brow bone highlight, I picked up a very small amount of "Primavera" on an eyeliner brush and placed it under my eye brows and around my tear ducts. Added sparkle!!


The eyes are almost done! To open up the peepers, I went for a nude-y color for my lower water lines and applied two coats of mascara.
FACE
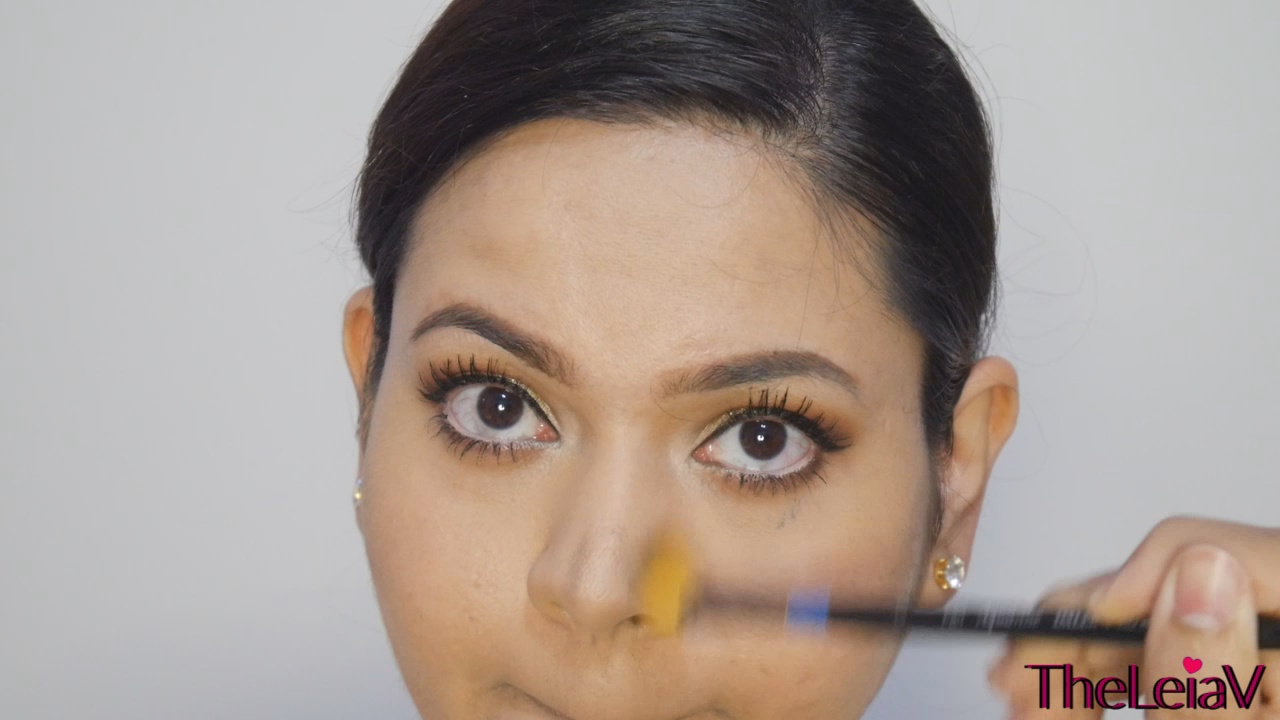
Contouring is an optional step. It helps to slim down the round corners of my face, I like doing this.
LIPS


For the lips, I used a color close to my lipstick to line the outlines. Then filled the rest of my lips in with the lip color. With this final step, we're all set to go!!
If you'd like to watch and/or hear me talk more about this tutorial in depth, head on over to my happy place on the Internet.. The YouTube platform, that is!!
I create mostly Beauty content and have new videos every week on my YouTube Channel; www.YouTube.com/user/TheLeiaV!!
Please Subscribe to stay notified whenever new content goes Live!!
Click on the link below, to watch it now;
Love

♥♥♥ Find me here!!!! ♥♥♥
Instagram: shanthiarumugam
Twitter: Shanthi Arumugam
Facebook: Shanthi Arumugam-Vimalan
Spotify: Shanaru6
Snapchat: shanaru6
No comments
Post a Comment
If there are any video requests for me, please drop me a message below. Thank You!!